Thursday, September 20, 2012

Bedroom Updates, and Crates

We're moving along with the bedroom!

Here are some pics of the progress:

Before paint on one wall, you can see the tiger strip look to the plywood paneling


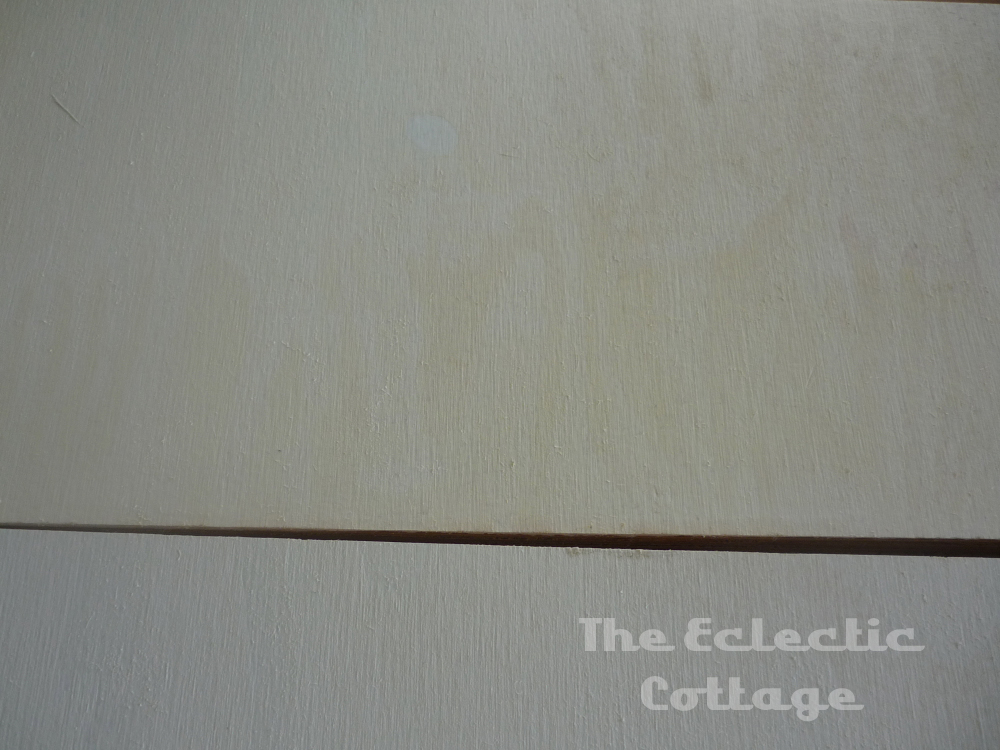
This was test crackle.  We decided against it though:


This is the walls painted but before the floor was.  It's a little dusty in the air


The floor, pre paint


All painted!  We need to cut down more plywood planks for the bottom, but the rest is all painted.  This is basically done though-from nearly the same angle as the before:


Painted floor


Painted plywood plank walls


Have I mentioned lately that I *LOVE* vintage crates?  I don't think so...so I think I should!  So, here are some of our vintage crates...


Sunday, September 16, 2012

Break from the bedroom

So we're still working on the bedroom, but I took a little break to get a few little odds and ends painted while we were still being blessed with nice weather.

First up, one of the 3/$1 chairs.  This is going in the dining room.  All four chairs are mismatched and painted differently.  Currently some of the bedroom "parts" are also hanging out in the dining room (remember we're less than 700 sq ft here!) so no pics of that room.

Here's the chair before


I used what I can best call a "dry brush" painting method on it.  I meant to have a darker green, the color on the lid DOES NOT match well to what's in the can, in my opinion.  Oh well.  Here are some during photos


And after


And a few videos to show how I did this.  It's funny, I didn't speed them up but it seems like it.  The second one shows how little paint I actually put on the brush!


I didn't stop with the chair, which may or may not be the last of the four we need.  The jury's still out on one of them, as it's shorter than the other three.  We'll see.  Anyway, there has been a succession of various things next to the front door to use as a spot to place things, like a bag or purse, when walking in the door.  Originally we had nothing.  Then we had a treadle base, which was too big.  Then there was a crate, which seemed out of place in the dining room.  Now we have a small vintage table, which made it's way over from our old house.  IF my memory serves me correctly, this came from Mr Eclectic's family.  I know we've had it around for a number of years no matter what.  One thing I've never loved was the color, but it's last home was in a room with some yellow in the wallpaper so it more or less matched.

Here it is


It's got great details


I noticed while I was painting it that someone, well before we got it, used scotch tape to fix a cracked leg.  It never came apart during the at least 15 years in our possession, so I painted over it!  Here's the final result


Tuesday, September 11, 2012

Misc. Stuff from the Bedroom remodel

#1.  SOOO annoyed with Lowes!!  We ordered the Lake Cottage fan I posted online and went to pick it up.  Had to wait in the will call line long enough that it was a grab and run or be late to work (picked up on lunch break) thing.  Didn't notice the box didn't show the crackled blades, but rather "distressed" blades.  Noticed it later but figured they were reversible as someone had noted in a review so didn't worry about it.  We pulled the wiring and decided to put it up so we could turn the electric on in the bedroom.  Opened the box to find...it's NOT what's show in the photo!  The blades are "distressed"...but in such an ugly and fake way the fan had to go back.  They have "holes" stamped into them, in the exact same spot in each blade.  So much for randomly distressed, lol.  We bought another Northshore fan like we have in the living room.

This:


I might end up painting it, since the bedroom is going to be mostly painted.

#2 we decided plain white paneling just isn't us.  So we're experimenting with crackle.  Pics to follow, so far we're trying elmers white and wood glue, wallpaper paste and sherwin williams crackle glaze.  It will be a green base with white over top.

The only photo I could find online for inspiration


this is also along that line, but it's more antiqued/distressed than crackled


#3 We are a few boards short for the planks!!  We're hoping to get the remaining ones from the same source, otherwise we will improvise.

#4 We can't find the bifold doors, we are going to bring out our stockpile of vintage shutters and see if we can make those work for our "closet"

kind of like this

Wednesday, September 5, 2012

More bedroom work

I forgot to show the before!  I can't believe I did that.  Oops.  This is what it looked like when we bought the Cottage:


We did a little more work on the plywood paneling.

Here's the pile o planks we bought for $37


Here are some that are painted.  This is one coat with the poor performing True Value paint.  Notice the knots.  I would suggest looking at each piece and chosing the side with the fewest filled knots.  They absorb the paint differently.


We installed a few courses.  These are the nearly 10" wide pieces.


Because there is no drywall or other backer, we are using some of the small cut off pieces to hold the ends together where there is no stud.


That's where we're at.  We also picked up the ceiling fan today.  We are going to work on trying to get some more planks painted and find the bifold doors used.

Some of the upcoming ideas for the bedroom

Hopefully they all work out well!

We will be painting the floor, it is just easier than refinishing.  If we want to later, we can always sand it back down and refinish.

The color will be something like this


We are also putting in horizontal paneling, painted white.  Originally this was going to be "real" wood (pine planks), but due to cost and finding a wicked deal, we're going with plywood.  This is part of that hopefully it works out thing I mentioned!  We picked up a bunch of construction cut offs locally.  They are 4' long and range in size from 8 5/8" to nearly 10" wide.  That will take some creativity to work with, but we think we've got it figured out.  We got 111 pieces for $37.  So far we're looking at about $80 in paint, because we originally bought Value's Weatherall paint and primer in one for about $30 for a gallon and it was terribly dissapointing.  Next we bought contractor grade white from Home depot for $50 for 5 gallons.  We had some rain, so we've only got one coat of that on, so far it's equal to or slightly better than the Value stuff.  BAD VALUE!  I'm going to write them an email :(.  It messed up my budget for this big time!

Anyway, this is a photo showing someone else's plywood panleing project-hopefully ours works out as nice!


Next, we're building two "closets" out of some planks and crown molding, then adding some old bifold doors for clothes storage (since we have no closet).  Rather like this


Additionally, we'll be building our bed and adding enough room below for some underbed storage, either crates or wicker baskets:


We're also picking up this ceiling fan, hoping it works for our little room (it's a 52")-but who could resist the name, Lake Cottage?!

All of the above photos came from my Ideas For the Eclectic Beach Cottage board on Pinterest, which can be found here  http://pinterest.com/cottageeclectic/ideas-for-the-eclectic-beach-cottage/

Sunday, September 2, 2012

Rehanging the bedroom door...turned into this

We decided that it was time to rehang the door for the bedroom.  It never close properly, probably because whomever built the wall was opposed to using a level.

Well, the carpet was in the way.  So we cut out a little strip.  Which became a larger square.


And then suddenly, all of the carpet was out!


Then we needed to deal with the ugly paneling.  It was faux...and grey.


Behind it we found green paneling and mold where there was water damage.


Of course, that all had to go too.


Stylin linoleum in the wall


As of right now, this is what we have.  We treated all of the water damaged wood with vinegar, to kill any mold that might be there.  In the next day or so the bottom parts of the studs and the bottom plate will be painted to seal them.


We also found this in the wall, it's an old switch.  Don't know why.


When they laid the carpet, the used a pad of course.  Unfortunately, part of installing it involved stapling it down.  I hate pulling those staples.  I've come up with a method, having done this before at our old house.

First, use a flat head screw drive to pry one end up a bit, just be sure not to push too hard on the wood when prying.


Then use pliers or anything with a good grip to pull it out


Here's a quick video, it's a little shaky since I was holding the camera and doing it at the same time.


Wednesday, August 29, 2012

Vintage Boat Oar Curtain "Rods"

We had no idea what we were going to do with a pair of chippy blue vintage boat oars when we bought them, but they just seemed like they belonged at the Cottage.  We bought them as part of a lot of various odds and ends including boat bumpers, a life ring, vintage plastic Christmas ornaments and a table.  We sold the table for about as much as the whole lot cost so we basically got them for free.

Eventually we decided they would make neat curtain rods.  Too bad they were too short for the place we wanted to use them!  The ingenious mind of Mr Eclectic went to work, and they are now hung in front of the actual curtain rods!

Here's what one looks like, please excuse the lack of trim, we are still in the process of locating the last of the paneling we need to complete the room:


An up close look at the oar itself.  You can see the great color and how worn it looks.  We THINK these came from a rowboat named the "SS Turtle".  The life ring we got from the same sale has that name on it, and the nephew and niece of the man who owned them confirmed there was a rowboat by that name formerly in the pond on the property.


This was taken from below looking up-you can see the gap between the actual curtain rod (just a cheap "brass" colored extendable one from the local hardware store) and the oar.


And this is the secret way the oars are hung!  We have two of these bracket set ups, one near each end.  The rod fits between them so the curtain slides back and forth without catching.