Saturday, March 31, 2012

The Living Room, Part I

So way back at the beginning I mentioned that I would blog about our biggest project to date.  Since we haven't been doing a lot of things on the Cottage while we're working on our mountain of wood, I thought it might be a good time to start.  I'm going to break this up into a few posts, but don't worry, I won't make you wait to see the results!

When we bought the Cottage, we knew we would need to do work on this room.  We didn't realize just how MUCH, but we were pretty sure it wasn't going to be a simple quick fix.

These photos were taken before we even bought the place, though a hole in the cinder block foundation.


Those are just a preview of what's to come.

This is inside, where the living room met the original part of the Cottage (the Living Room is an addition).  You can see the tiles are broken-that's because it dropped down at least 2" there.  A sign of trouble...


For some reason, we never took photos of this part of the living room before we started the demo work, so I'll point out two things that are missing now-look to the edges of the photo where the green tiles are and you'll see walls.  On the left, it's the closet for the bedroom and on the right, it's the laundry "room" (a closet).  Both are gone now, casualties of needing to tear out the floor.  We decided it was a LOT more open without them.

So, as promised, here are the photos of the before.  We liked the paneling and you'll see we kept it, albeit in a slightly altered state (because we removed the closets, we will need to buy more new paneling to weave in, and we couldn't match 30+ years of fade).  The stove was WAY to close for clearances and wouldn't have worked in the corner after we were done anyway.

The left corner (check out the copper piping for the heating systm running up and around the stone behind the stove):

The middle (look closely and you'll see copper piping running over the window):


The right side:


And a preview of the final product so you don't have to wait out the posts showing how we got there if you don't want to:


This is the middle of the back wall now.  Well, not NOW, but after a LOT of work.  I have to take some new photos of the now, but this shows the doors, hearth pad and "white washed" walls.

Friday, March 30, 2012

What we've been doing....

Lately we've been busy working on this massive wood pile.  We ended up with about 50-60 trees!  This all needs to get split and stacked to season and become heat for the Cottage.  Needless to say, with bringing it all home and working on splitting and stacking, not much else has gotten done!

Friday, March 9, 2012

Kicking around some ideas....

The living room decor is basically all decided, if not finished.  We still need to find more paneling to match and sand,  white wash and install it (one wall left!), and finish installing the pine plank ceiling and lay a floor.  I promise I WILL eventually go through the before during and after as well as a how to for more than just the stone hearth pad.

The bathroom wasn't all that bad really, all we need to do in there is deal with the few patches of plain drywall and figure out some type of door system where the mechanicals are.

The kitchen was like the bathroom, not too much to do, just little bits here and there to tie it all together.

BUT the dining room, bedroom and hallway...woo-boy.  The dining room is blah.  It's painted in a blah color and has no character.  The hall is similar but it also has a poorly built crooked leaning wall that it shares with the bedroom, which has a faux drop ceiling and ugly paneling (the 4x8 sheets, not planks).

So I have a blank canvas so to speak...which means I have come up with ideas and ideas and...uh-oh.  Which ones to choose?  Which ones will tie in with the rest of the Cottage?

Here's a few, I apologize for borrowing the images but I've followed trails all over and don't know who the original photographer was on them.

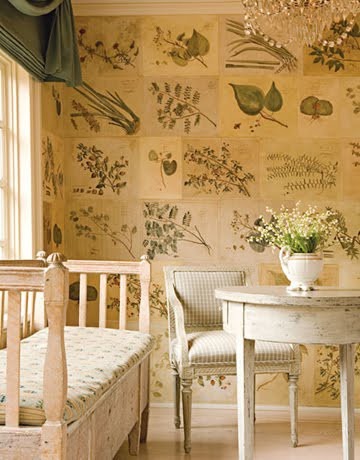
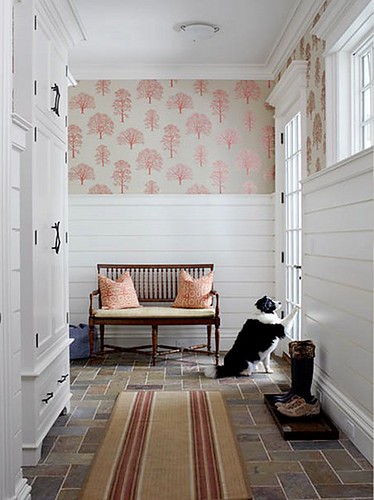
I like this idea for the hallway, but I'd probably use something other than birds or plants (tall ships maybe, or copies of old maps and postcards from our area):


Then there's the ceiling, which was done in pop corn.  Unfortunately, it's "popping off" in a few places, so we were thinking of using some wood from some old crates that are past their usefulness as crates (this is faux barnwood, but it is the properly grayed look, the pieces would be much shorter from the crates):


Instead of using old magazine pages, I was also considering paneling with wither blue on the bottom and white on top or the opposite:


And then there's the dining room, which is BLAH.  It's painted in a sort of beigy bland color and has no character outside of the scrounged up furniture we've added.  I was thinking of distressed paneling like what was have in the living room, but in color (maybe not THIS distressed):


I'm also digging the idea of running it horizontally instead of vertically, but not all the way up the walls


And the bedroom...we already have pine 6" plank paneling at our Old House that we will be removing and replacing with drywall.  We figure there's a good chance whomever buys it will do that anyway, so we might as well use it!  I think a light wash like this will look fantastic:


And since we have NO CLOSET (we HAD one, but removed it for more room in the living room) I want to build a wall of shelving that will house newly built crates for our clothes.

Kind of like this but a full wall and with wooden crates:

We could stencil fun fake company names on them even, like Genuine Lake Driftwood.

Thursday, March 8, 2012

And the winner is...

I (think) I finally chose my Kitchenaid color!  The winning color is...pistachio!  I can't believe how difficult it was to chose...but when you find Kitchenaid mixers from the 50's still running strong, you have to assume this is the mixer you'll have forever.  And that means you need to be 100% sure you're always going to love the color.  Sure, I could have gone the safe route with white or black, but as I've mentioned before, the Cottage has a very wood toned kitchen and is just crying for a little color.  I just couldn't go with another white appliance in there!

So, some day in the future, I'll have one of these in the kitchen!